
Last Updated on March 20, 2024 by admin
Every household needs a paintbrush and roller, especially when any repairs or renovations need to be done. When you’re finished with the painting, you must clean your paintbrush and roller. This will ensure the next time the equipment is used; it will work at its best. Otherwise, if it isn’t cleaned well enough between uses, the brush may not be able to work as efficiently and can affect how smooth your paint lines are in your next project.
Cleaning a paintbrush
- Take an old jar, squirt some dish soap into the open space, and then warm water. Then dip your paintbrush in there for about 3 seconds
- Pull out the brush and use your other hand to shape the bristles (make sure they are not sharp)
- Squeeze out any remaining water
- Lay down on a rag to dry
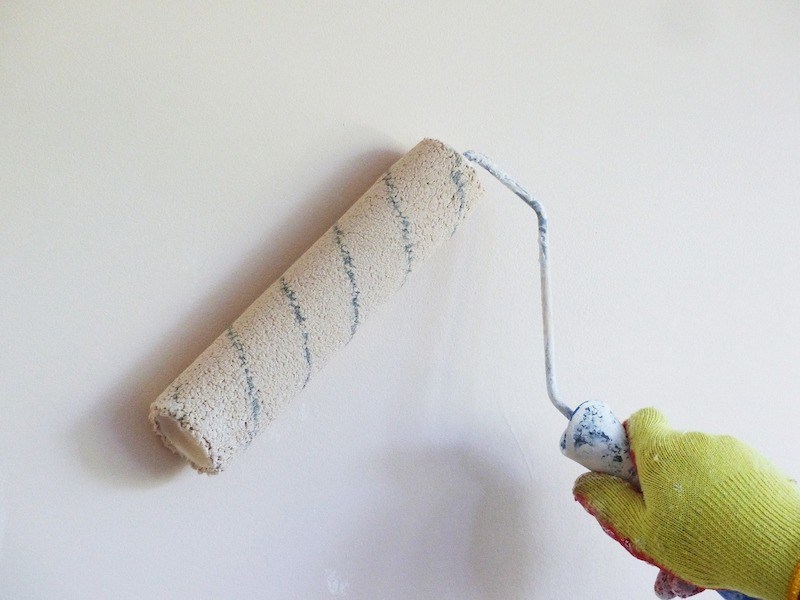
Cleaning a paint roller
- Take a piece of sandpaper and sand off the dried paint from your roller. This will ensure it doesn’t leave marks in your next project. If there is too much paint accumulated, you may need to take a wire brush over it to make sure the extra paint is gone. It’s best if you do this part before washing it with soap and water.
- Put generous amounts of dish soap into a bucket filled with warm water and soak for about 5 minutes or more, depending on how dirty it is.
- Remove from water and shape the roller
- Lay flat to dry on a rag
How to clean oil-based paint rollers?
Painting is no doubt an arduous chore. No one wants to do it, but it is unavoidable in most cases. For this reason, you must know how to clean oil-based paint rollers even when your project is already finished for the day. Even if it’s just a small task that can be accomplished in half an hour or less, it still presents some problems with its share of difficulties.
There are simple steps on how to clean oil-based paint rollers without much trouble, and here they are:
Step 1:
Use disposable towels or cloths to avoid having to bother with washing later on or dispose of them after use. Place paper towels underneath the roller to make cleaning easier.
Step 2:
Insert brush from a can of paint thinner into the rollers and twirl it to cover it with thinner completely. Press the roller on paper towels to absorb excess thinner, then repeat using fresh rags or towels until they come out clean.
Step 3:
Wash the roller cover in a bucket containing 1 gallon of warm water, detergent, and ammonia solution. The concentration should be 1/4 cup ammonia mixed with one gallon of water. Wring out the roller until thoroughly damp but not dripping wet.
Step 4:
Scrub both sides of the paint roller cover for ten minutes, making sure that you get rid of dried paint particles from previous projects, if there were any. If you notice these particles being left on the cover, rub a little more until all of them are removed.
Step 5:
Place the cleaned roller cover on a plastic garbage bag and leave it there overnight so that it can be completely dry the next day.
How to clean a paint roller with a drill?
MATERIALS NEEDED TO CLEAN PAINT ROLLER WITH A DRILL
The best way to clean a paint roller with a drill is to use the same type of drill that you already have for home or business use. You can use any drill as long as it has an option to reverse the spinning direction of the drill head. There are drills available now that have variable speeds, but you will only need a simple “on/off” switch function from your power tool’s battery pack for this task.
Frequency-reduction motor technology is used in many household and commercial drills nowadays, but it does not affect how well a drill can spin a paint roller cleaner handle attached to the end of its extension cord.
Best way to clean a paint roller with a drill is to follow these steps:
- Plug your drill into an electrical outlet or attach your battery pack into place.
- Securely attach the paint roller cleaner handle onto your drill’s power cord extension cord.
- Wipe the paint roller on a flat surface to remove excess paint on its wire.
- Turn the switch of the drill to reverse rotation so that it starts spinning counterclockwise.
- Using a clean, dry cloth or paper towel, wipe the paint roller cleaner handle in a counterclockwise direction to remove excess paint from its wire.
- Repeat steps 4 and 5 until excess paint has been removed from the roller.
- Turn your drill back to forward rotation and wipe the paint roller handle clockwise to remove any extra foam.
- Turn your drill off and allow it and your newly cleaned paint roller cleaner handle to cool down completely before re-using them together.
- Allow the paint roller wire to dry overnight before using it again.
- Store both your drill and paint roller in a cool, dry place until you are ready to use them again.
Does cleaning paint rollers make sense?
Washing a paint roller is worthwhile. Maintaining your painting tools will help you save money since they will last longer. Additionally, they’ll stay in working order, so you won’t need to go buying before starting a project, and, of course, clean equipment will help you paint your home professionally the next time.
How does one remove paint off a roller?
Put the roller cover in a pail of warm water with a few drops of detergent if you’re using latex paint. Use your hand to work the color out of the nap. Rinse the cover in a new bucket or under a stream of clean water. Remove the cover’s excess water by shaking it, then place it on.
Note:
By following these simple steps, your paintbrushes and rollers are clean for your next project. Suppose you do not have time to use dish soap; make sure to use warm water before using it again. The other option is to buy new paint supplies whenever necessary, but this will add up after some time if you’re painting regularly.
To save money in the long run, try cleaning them between uses, so you don’t have to keep purchasing new ones or spending too much money taking them back or buying replacements. Cleaning them regularly will ensure they work best when painting future projects!


