
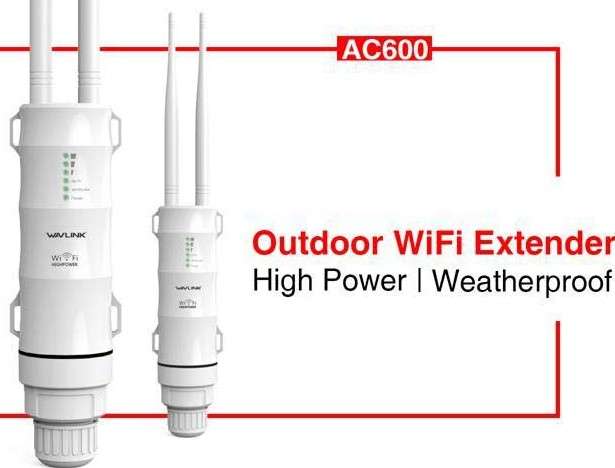
Wavlink AC600 Extender setup is dual band outdoor wifi range extender.it has a high power amplifier to destroy the dead zone of your location.The Wavlink AC600 Extender Setup gives you speeds of up to 600mbps and help you to extending your range up to very long distance.
AC600 Extender is the solution to your internet related issues.it works with all devices like Smartphone,Smart tv or even a Roku Wavlink AC600 Extender to handle it all easily.
Requirement for Wavlink AC600 setup:
- You need Good power source to connect your wavlink AC600 setup.
- Username and password for Wavlink.
- Smart gadget with a browser that works.
wavlink AC600 Extender Setup?
Before you can start using your AC600 Extender ,you need to set it up.with this easy step.all you have to do is just follow the instruction.for enjoy the Wavlink AC600 extender stream less internet services.you have two different methods to setup your extender.(WPS and manual.)
How to set up your Wavlink Extender via WPS?
WPS is the easiest way to connect your Wavlink AC600 Extender with just a small button and nothing else.in this process you will be able to set up your device within 2-3 minutes only.with the help of wireless protected setup.
Follow these instructions that given below to connect your AC600 Extender setup:
- plug in your Wavlink AC600 Extender to the socket.
- Locate your AC600 Extender near the router.
- Press the WPS button on your Extender and router too.
- Now wait for the green light on your Extender.
- If the WPS light turns to green.it means the connection between the router and the Extender is good.
- Now plug out your Extender and place where you want to place it.and connect with your devices.
Second, we have a manual process. Let’s see how it works.
If you don’t have the WPS button on your router or are not able to login with the WPS method you can go through with this one.(manual process).In this process you can setup your Wavlink AC600 Extender with the help of default web
Address wifi.wavlink.com or IP address(192.168.10.1).
Follow these instructions step by step to connect your AC600 Extender setup via manual process :
- Set up your device after opening the box.
- Plug your Wavlink AC600 Extender setup to the power socket.
- Take out your smartphone,laptop or PC.
- Connect your device with the internet,make sure that your device must be connected to a good internet speed.
- On the link bar type default web address/IP address of AC600 Extender.
- Type your username and password.
- Click on login.
- Range extender’s new configuration page will load.
- Follow the instructions Step by step to install or connect the Extender.
Connect Wavlink AC600 Extender setup with Ethernet cable!
You can also use an Ethernet cable to connect your device. Simply turn on your Wavlink AC600 extender Setup. And attach the Ethernet wire, then connect your device directly, such as your router, laptop or a computer. Make sure that the wire connection between the device and Extender is in good condition.If you have connected your Extender to the router successfully and still there is no internet access .Then it means your Extender needs the latest Firmware update.
Firmware Update:
Do you know anything about the firmware? If not, we will inform you. In reality, firmware is a Combination of hardware and software. The firmware is a collection of software that is integrated into hardware. To solve the issue your extension is causing, you will occasionally need to upgrade the firmware on Wavlink extenders. These issues could relate to performance or security concerns.
Ho
How to Update Wavlink AC600 Extender’s firmware?
Follow these instructions step by step to update your Wavlink AC600 Extender firmware:
- Power on your Wavlink Extender.
- Take any smartphone.
- Go to “http://ap.setup/”.
- Select Settings from the menu.
- Click the Firmware Update button now.
- Follow the on screen instruction to complete the firmware update process.
- Do not unplug your extender until the process is under progress.
- These directions will help you to update the firmware on your wavlink extender.
In case you are facing any kind of troubleshooting about how to update your Wavlink AC600 Extender firmware.Contact our tech support any time.
How to reset Wavlink AC600 Extender setup?
The factory reset operation is mostly supposed to be performed whenever there is a need to recover the admin password.After performing the factory reset operation it will delete all your personal data including your username,password and SSID etc.
- Follow these steps to reset your Wavlink Extender:
- Remove your Wavlink extender and turn on.
- On the side of the extender,you have a factory reset hole.
- Grab a hard pin,paper clip or toothpick or something like that.
- Press the reset button under the hole for 8–10 seconds.
- Now, you have successfully reset your Wavlink AC600 Extender setup.
Troubleshooting Steps!
Troubleshooting steps you need to follow :
Before you can update and change the configuration of your Wavlink AC600 extender, you must complete the hardware installation of the adapter. Follow the instructions for the hardware as directed.
- Install the hardware.
- Connect your cables.
- Connect the external power adapter and the passive POE injector to the outlet. The LED illumination should turn on after you connect it.
- From the PPOE port of the POE injector, connect an Ethernet RJ45 cable to the LAN port of your access point.
- Connect the Passive POE injector’s LAN port to the Ethernet RJ45 cable.
- The hardware and cable installations can be finished effectively in this way.
- Open internet browser.
- Enter the wifi.wavlink.com URL or the 192.168.10.1 address.for your Wavlink AC600 Extender setup.
- Enter your username and password.
- You will be asked to change the password and username. To proceed, click on OK. After signing in to your admin tab, you can change the username and password. Ignore it right now.


