

Draw glasses in just 6 easy steps! People wear glasses for many different reasons. Some people wear them to help them see, while others wear them as a fashion statement! Dark glasses can help protect your eyes from the sun, while special safety glasses can help protect the eyes of people who work with hazardous materials. As everyone knows some glasses, many would like to learn how to draw glasses so they can design their cool drinks! If you are one of these individuals, you have arrived at the correct location. This step-by-step direction on how to draw gulps will help you realize how effortless it can be to understand! Drawing for kids
How to draw glasses – permits commence!
Step 1
To create this focus on how to draw drinks, we’ll start with the edges of the mirrors. Particularly, we will do the left flank in this singular step. The sides of the drinks will consist of curved lines and more straight lines on the flank. Be certain to depart some room in the greatest right corner of the glasses, as we will add the gulps bridge there.
Step 2: Remove the proper flank of the glasses.
We will remove the bridge and the right side of the frames in drawing your glasses. For the bridge, you can use two curved lines from the left side of the frame. You can then draw the right frame, which will be the same as the one you drew in the previous step. This will give you a nice set of matching frames for your glasses. Once accomplished, drag on to the subsequent stage!
Step 3: Now draw the first arm of the glasses.
The thin part of the glasses that extends from the frame and above the ears is called the temple, and now we’ll draw the first one. The first will rise from the left side of the glasses and be marked with curved lines to create the design of the thin temples of the glasses. It will bend sharply at the end of the part above your ear.
Step 4: Next, draw the second arm of the glasses.
You’ve drawn a temple for your glasses, so you should have no problem drawing another in this step of our guide on how to remove glasses. Just draw the other temple on the right side exactly as you did in the previous step to complete the temples. Finally, you can draw a few more lines along the sides to make the glasses look thick.
Step 5: You can now draw the lenses and final details.
Before we move on to the final step of drawing your glasses, we have a few more details to add. The main item is to count the lenses of the sips. These will be removed utilizing enclosures with spherical corners inside the eyeglass structures. Then, as you can see in the reference image, there will only be a few lines left inside the temples to complete the details of the glasses. Now that you’ve added these final details, you can add a few more before moving on to the last step.
You could use many fun ideas to put your spin on this design. One thing you could do if you feel more creative would be to draw a face with the glasses. Maybe you could take a sulfide to show yourself wearing them! You can also draw or remove clips or props from a table with other objects. How will you finish taking off your glasses?
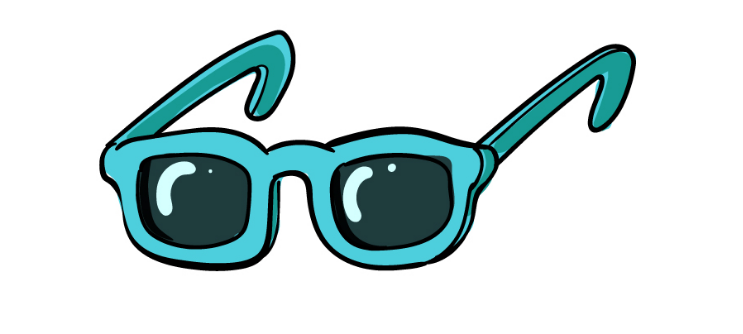
Step 6: Finish drawing your glasses with some color.
Now that you have finished drawing your glasses, you can bring your drawing to life with beautiful colors! We used a bit of light blue to color our reference image. This is just one of many options for coloring your image, so you should let your creativity run wild! Glasses can be any color, so this is a great opportunity to use some of your favorite bright colors for your shot. Once you’ve decided on the colors you want to use, you can have fun deciding what art mediums you’ll use to make them stand out. If you want a more subdued image, mediums like watercolor or colored pencils can be a great option. If you want to go the other way and have bright, vibrant colors, then something like acrylic paints.